Unpacking NanoCore Sample Using AutoIT
05 May 2019
By Jacob Pimental
In this article I want to take a look at a Nanocore sample that I found on HybridAnalysis that is using a compiled AutoIT script as a packing technique. This article will go over how to detect if a sample is using AutoIT and how to analyze it. The hash for this sample is ad9f99ad687a8ae71a40fd589b028ef6194e35c7.
As usual, one of the first things I do when analyzing a new sample is to run the “strings” command on the binary to see if there are any clues as to what it does. When running this command on the sample we will find the string “This is a third-party compiled AutoIt script.”, which is very self-explanatory. In order to decompile the sample we will need to download the program exe2aut. Last I checked, the site to download exe2aut is down so you can grab it from my gitHub in the meantime.

When running exe2aut you will be presented with a blank screen. To decompile our program you need to drag the file onto the screen, which will then display the decompiled AutoIT script. It will also create a file in your working directory that also contains the script.

It looks like the script is lightly obfuscated. The function thksczjzrvh seems to be the string deobfuscation function, taking the obfuscated string and the symbol to remove from the string as parameters. For example, the first variable, nthituvhcf, becomes the string “Execute”.
At the end of the script we can see a call to multiple functions. The application grabs the resources MSIEXEC1, AUTOPLAY2, and PRINTFILTERPIPELINESVC3. These resources contain very large hex strings that the script then concatenates together to create one extremely large hex string. The script will take this newly created string and decrypt it using the Windows advapi.dll libray. I used a python script to deobfuscate the decryption function the script is using.

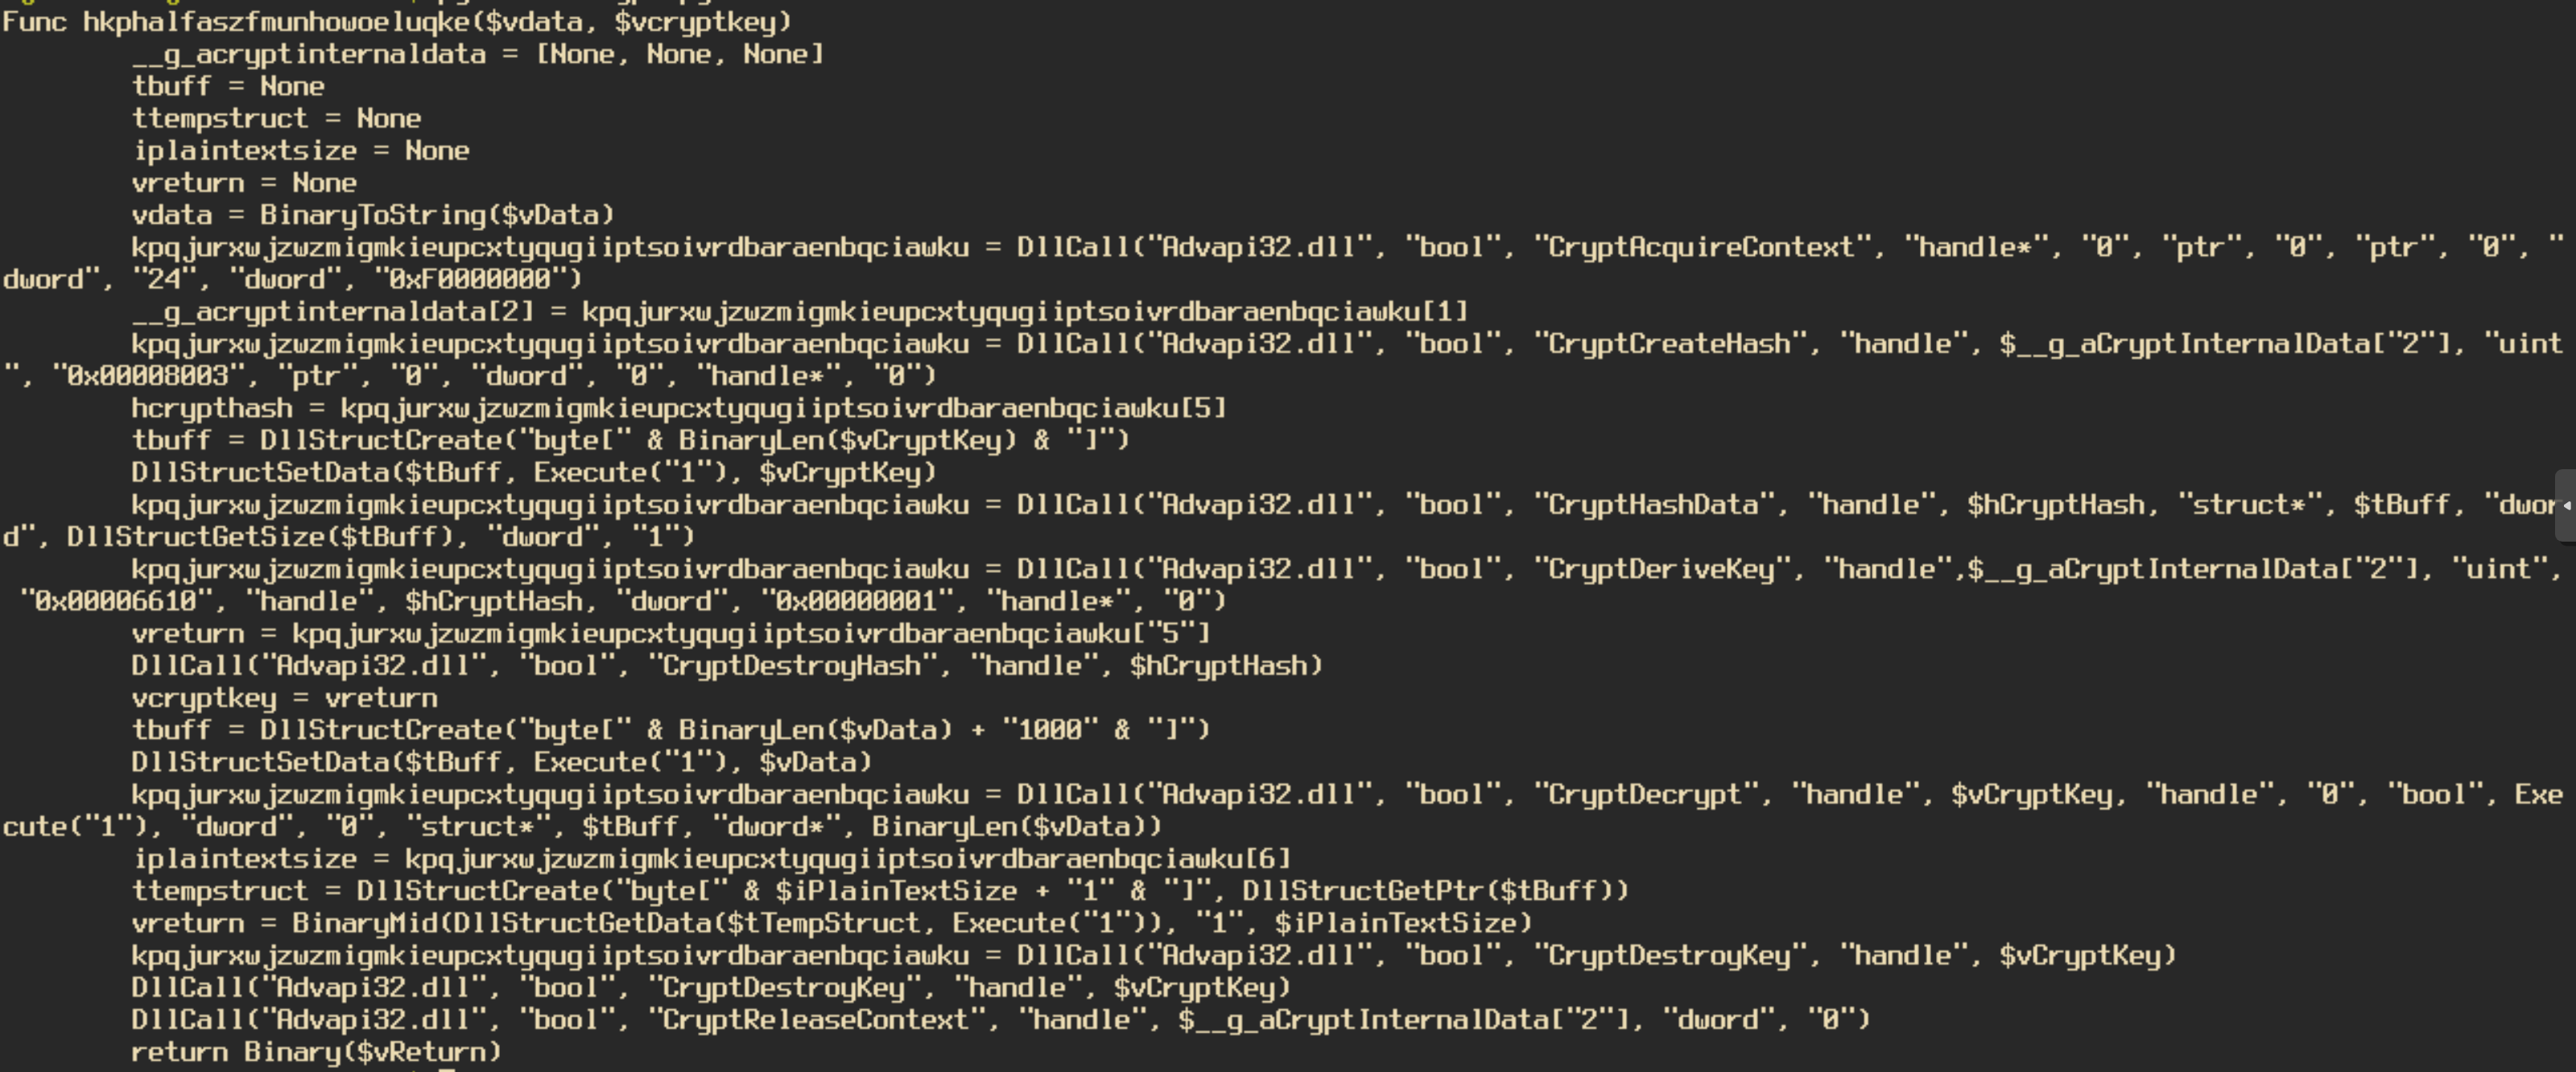
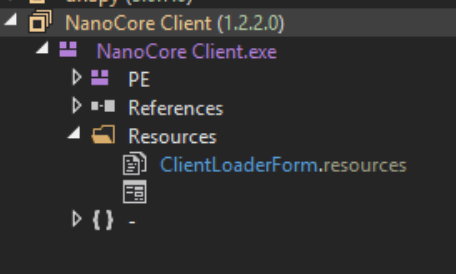
The decryption function first uses CryptCreateHash with the key “akzejgkkukeebssbhftrhvxwizaftqlblnpvsogcvifsnyzpcs” to create a hash of the key. It then uses the function CryptDeriveKey to create a key from the created hash. Then the data is decrypted using the key from the previous function using CryptDecrypt. With the ctypes library in Python I managed to create a tool that will decrypt the final payload of the AutoIT script. You can find it on my gitHub here. The decrypted file is a .NET executable. Loading this file into dnSpy confirms that this is NanoCore.
I am not going to go in depth into the NanoCore payload as this article was meant to demonstrate the extraction process and provide insight into how to RE a compiled AutoIT program. I have noticed this specific packing method used in multiple samples, not just NanoCore either. My script was able to unpack each sample successfully, my hope is that it proves useful to other researchers. Feel free to add commits to improve functionality. Also, feel free to reach out to me on my Twitter and LinkedIn with any questions or comments you have on this article or any of my other articles.
Thanks for reading and happy reversing!